
Tuck Point Diamond Blades are designed to remove mortar from masonry joints with a focused, narrow cut. For restoration crews, that can mean cleaner joint preparation and less unnecessary contact with surrounding brick. The work is visible up close: dust gathers along the cut, mortar edges appear, and a steady hand matters. Small details count.
An important note on attribution: Daniel Mercer below is an illustrative, fictional masonry-tool specialist, not a verified source. His line is original, not a historical quotation: “Match the blade to the joint, then let the tool do its work.” That principle points to practical checks: blade diameter, arbor fit, joint width, and the grinder manufacturer’s instructions. A blade that looks suitable may still be the wrong fit. Check first.
Why choose Tuck Point Diamond Blades? Their profile can help make controlled mortar-removal cuts, while diamond segments are built for abrasive masonry materials. Results still depend on the blade, the material, the equipment, and the operator’s technique. No blade removes every risk. Dust control and suitable protective equipment deserve attention, too. A rushed pass can widen a joint or mark the brick face. That is easy to underestimate. This guide explores blade design, material compatibility, cutting control, and selection considerations, while recognizing that no single option suits every repair. A careful choice helps; sound judgment matters just as much.
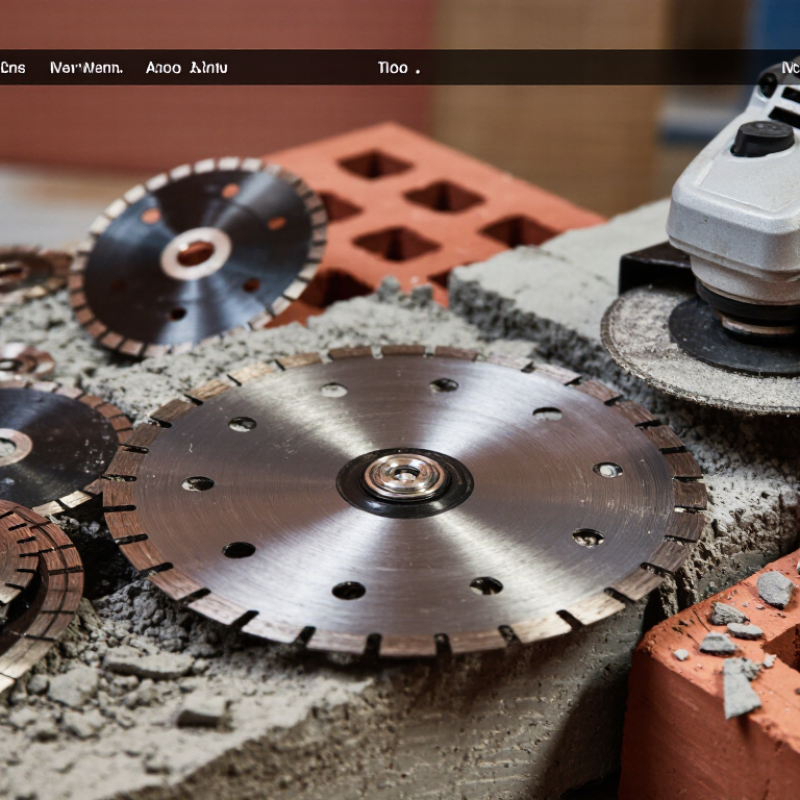
Tuck point diamond blades are thin, circular cutting wheels designed to remove mortar from joints between bricks or stone. Their diamond-bearing rim grinds a narrow channel, leaving surrounding masonry largely intact when the blade is correctly matched to the joint. Unlike a general-purpose masonry blade, a tuck-pointing blade is selected for controlled depth and width. Some have segmented rims; others use narrower profiles for precise joint work. The right choice depends on mortar hardness, joint size, and the saw’s permitted blade dimensions. Fit matters.
A practical check is to compare the blade width with the joint before cutting. A blade that is too wide can scar brick edges; one that is too narrow may require extra passes. Dust is another concern.
OSHA’s respirable crystalline silica standard for construction sets an action level of 25 micrograms per cubic meter and a permissible exposure limit of 50 micrograms per cubic meter, both as eight-hour time-weighted averages. These figures explain why dust-control methods matter during masonry cutting.
Tips Confirm the blade’s material and speed ratings against the saw manual. Use suitable water delivery or dust extraction, and wear required protective equipment. Keep the cut shallow and steady. Don’t force it. Mortar can vary within one wall, so inspect the joint as you work; a careful setup still may need adjustment.
Exposed diamond grit scratches and fractures mortar as the blade spins. Fine particles are carried away. The metal bond wears gradually, exposing fresh grit.
They are designed for removing mortar from joints, such as on brick walls, chimneys, and garden walls. They can also clear deteriorated mortar between stones.
Match its width to the joint. A blade that is too wide may chip brick edges or widen the gap unnecessarily.
Keep the cut within the masonry joint and away from brick edges. Check the joint as you work. Depth matters.
Make steady, shallow passes and avoid forcing the saw. I used to assume similar-looking joints would cut alike; that was a poor assumption.
No. Dense, cement-rich mortar may cut differently from softer mortar. Test a small area before continuing across the wall.
Use water delivery or suitable dust extraction, and follow the tool and blade instructions. Wear suitable respiratory protection where needed. A diamond edge does not control dust.
Stop if the blade overheats, binds, or begins damaging nearby masonry. Check the joint and blade condition before resuming. A small test cut can help.
Tuck Point Diamond Blades are designed to remove mortar from masonry joints while helping preserve the surrounding brick or stone. Their diamond-coated segments grind through worn or damaged mortar in a controlled way, making them useful for repointing and repair work on brick walls, stonework, and other masonry surfaces. Choosing the right blade depends on the joint’s width and depth, the material being cut, and whether the tool and blade are compatible. A suitable blade can improve control and help produce a consistent channel for fresh mortar.
For safe, effective use, inspect the blade and tool before starting, secure the workpiece, and follow the tool manufacturer’s operating instructions. Wear appropriate eye, hearing, and respiratory protection, and avoid forcing the blade, which can cause overheating or damage. Keep the blade clean, store it in a dry place, and replace it if it becomes damaged or excessively worn. Careful selection, steady technique, and regular inspection help support reliable results and longer blade life.